
BirdNET-Go Final Microphone
Cheap mic for clear chirps
As I mentioned a few blogs back, the last (no, really really) microphone option showed up for the BirdNET-Go project.
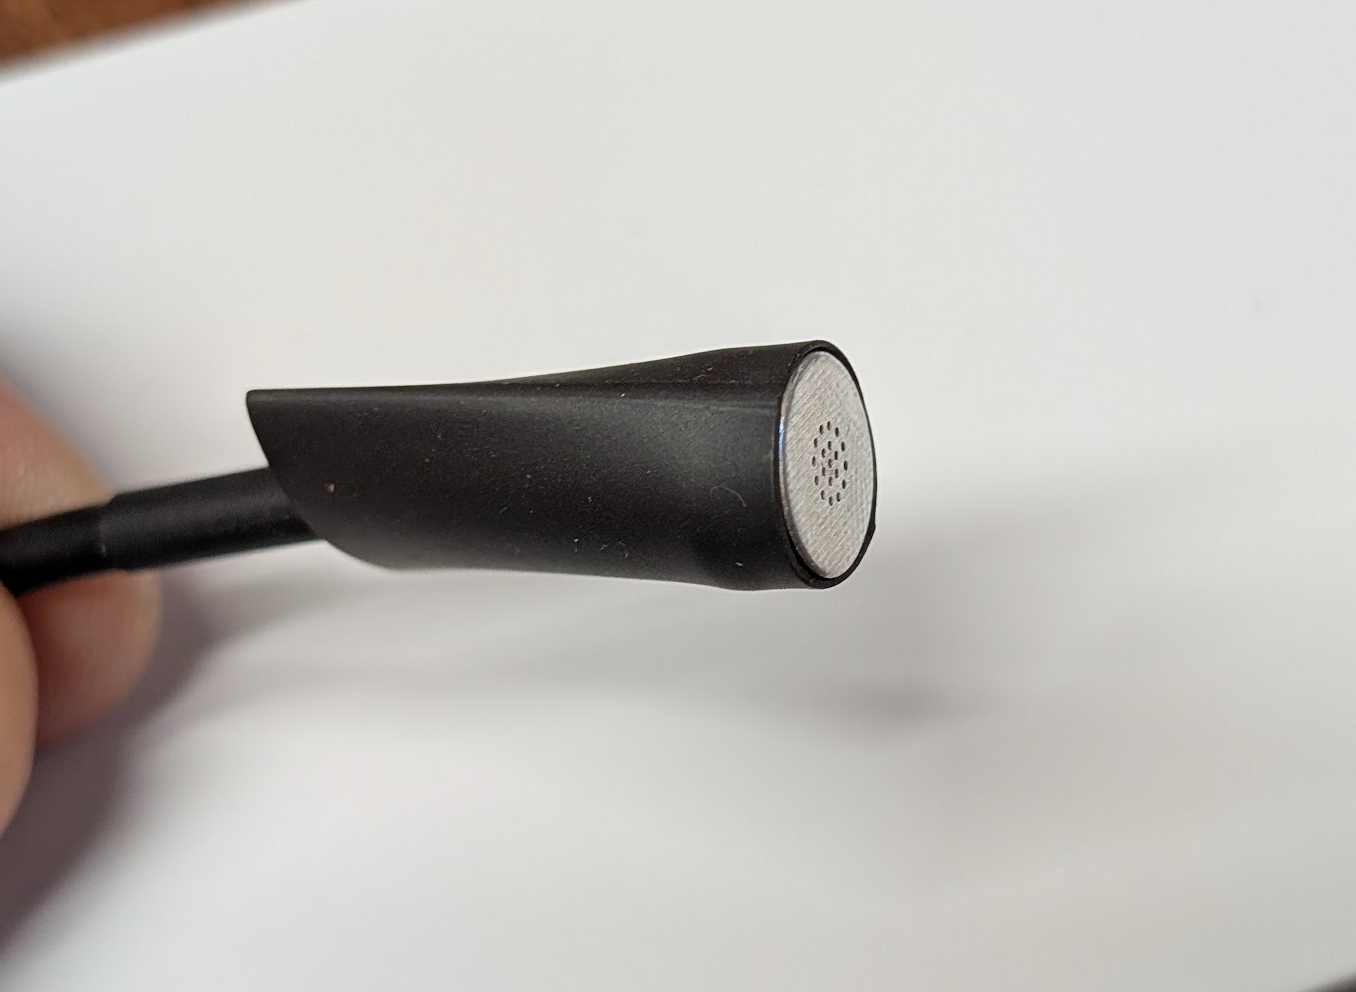
AOM-5024L-HD-R. There are a few places that sell them, so feel free to shop around - they are all the same price here in the USA, so you are just looking for shipping details, I suspect.
Yeah, they are pretty small, but not that small. It honestly made me a bit sad to read that so many folks who own a soldering iron have had issues soldering these up. I am so grateful for the Box Hill TAFE teacher who spent many lessons yelling at a bunch of young adults and ripping up their hand-soldered mesh of dry joints. It was hard to take at the time, but it was tough love. To this day, I am a better solderer because of him.
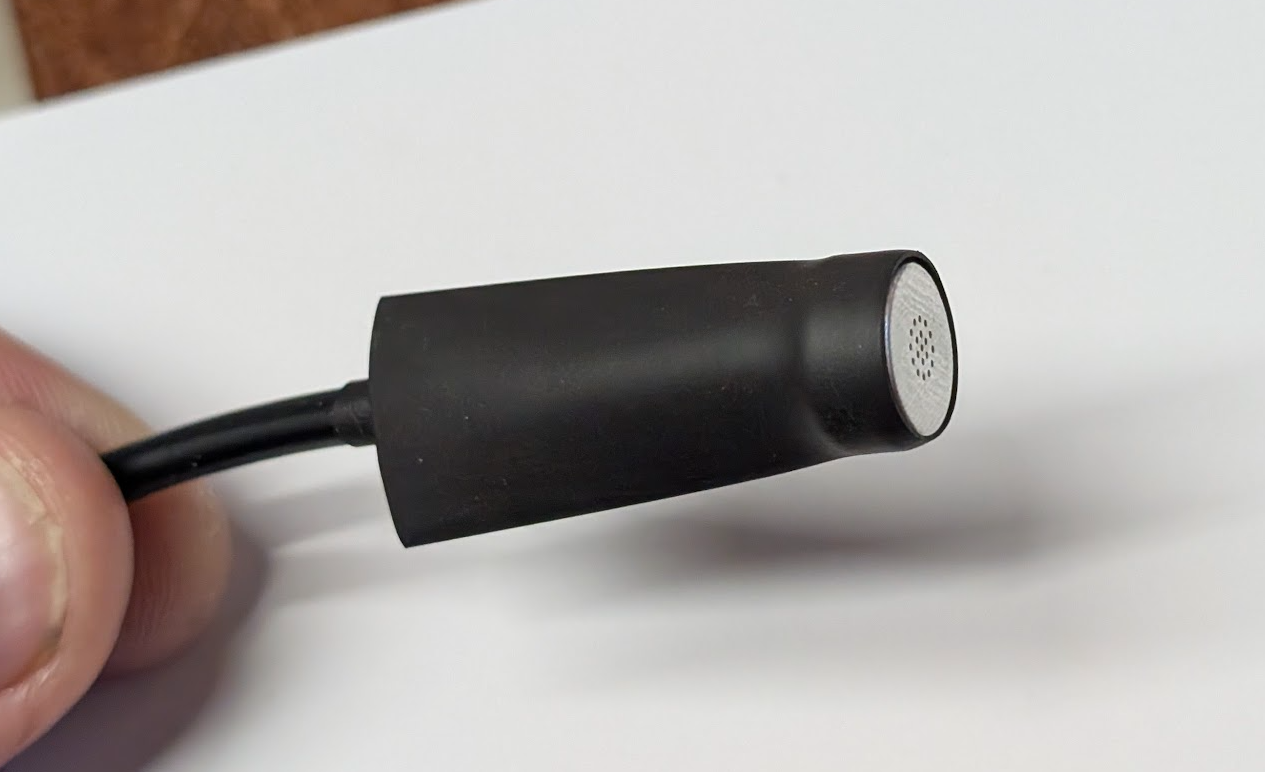
I did a quick test to prove they work, then went on to make three nice ones.
Two to sell to our Reddit bird watcher in Oklahoma, and 1 for my yard. Sure enough, no surprises, they work exactly as expected, so here is what I did. Nothing too out of the ordinary here, just recording it for future Google search finds. Hope it helps a fellow bird listener at some point.
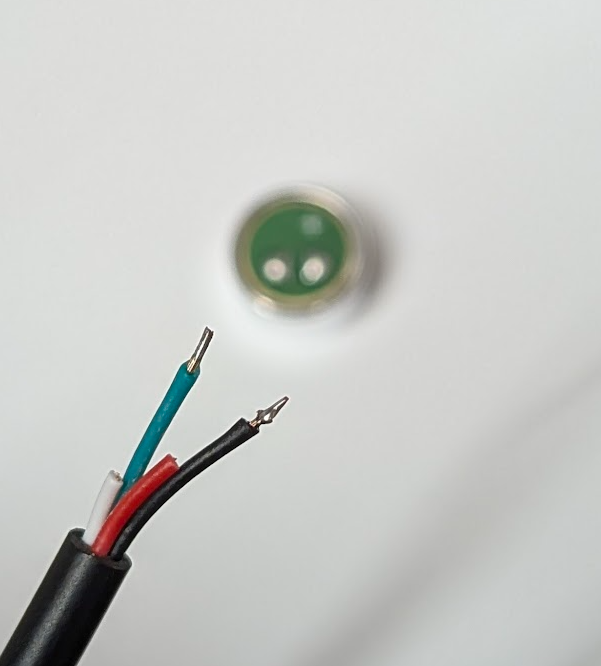
First up, dress and tin the stripped wire. I cut the wires back from the delivered length a fair bit, as I was confident I did not need a lot of slack wire. The shorter total length helps make the end result stronger, and your stash of heat shrink lasts longer as well, since you don't need as much of it.
Tin the two wires you just stripped and the mic, and you are about ready to go.
Before my test, I had buzzed out the wires needed. Black as the ground and green as the first sleeve on the 3.5mm TRRS (tip, ring, ring, sleeve) plug. aka, the microphone input.
"Trust, but verify" was the goal here: trust that the wire was listed in Amazon as those colors, but verify with a multimeter buzz or resistance check. Why? Because, of course, we have 2-3 standards of what signals land on what parts of the 4-pin plug.
So do note that you can't just use the same colors / connectors as I have just mentioned; your USB mic interface may be different.
Here is the USA Amazon link to the audio cable / plug I used - took a bit to find some that were 6 feet long (as requested by our Redditor).
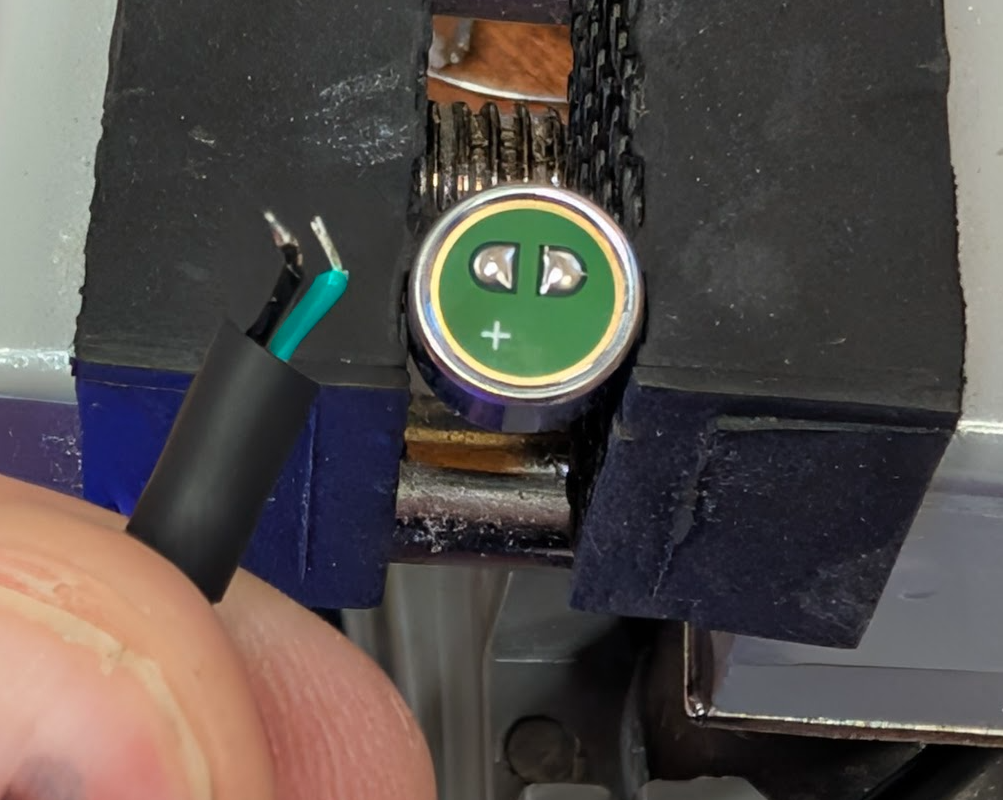
Why the whole trust but verify? Because condenser mics are polarized. They need a positive bias voltage on their + to work; get it wrong, and it won't blow up; it just won't work.
Side comment, this is also why I would not push the connecting cable much beyond 6 feet / 1 meter. Or use a quality shielded audio cable if you do (and know NOT to ground it on both ends).
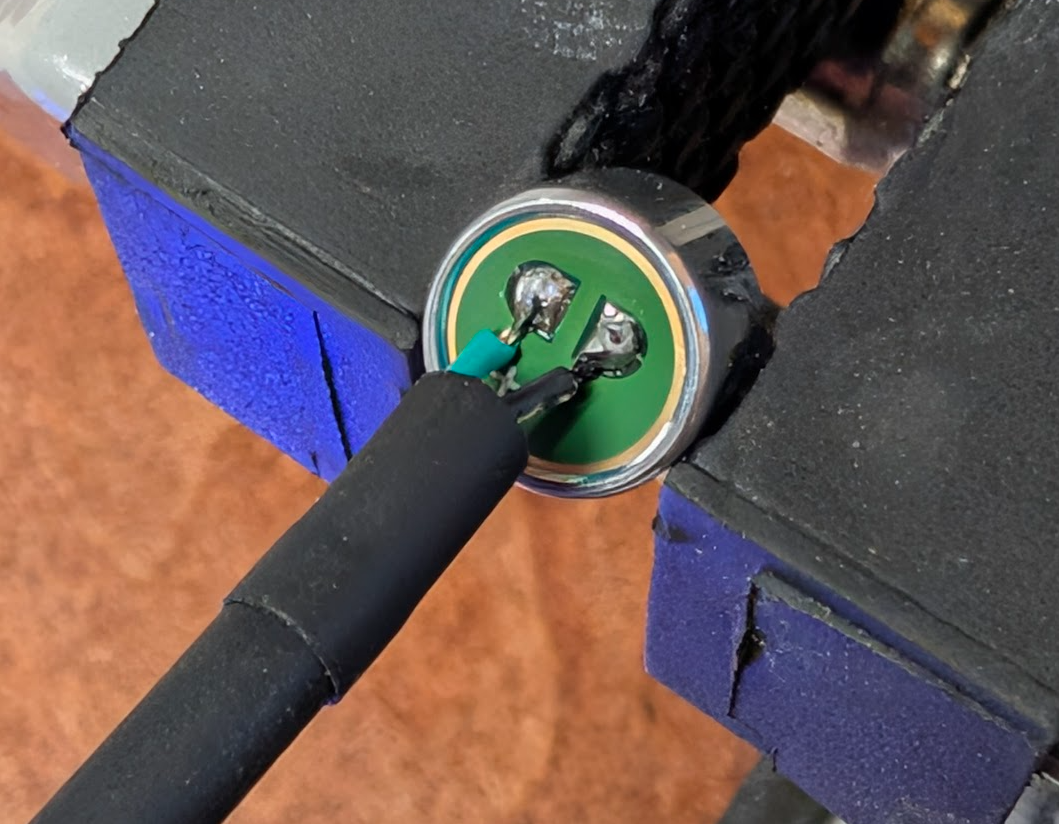
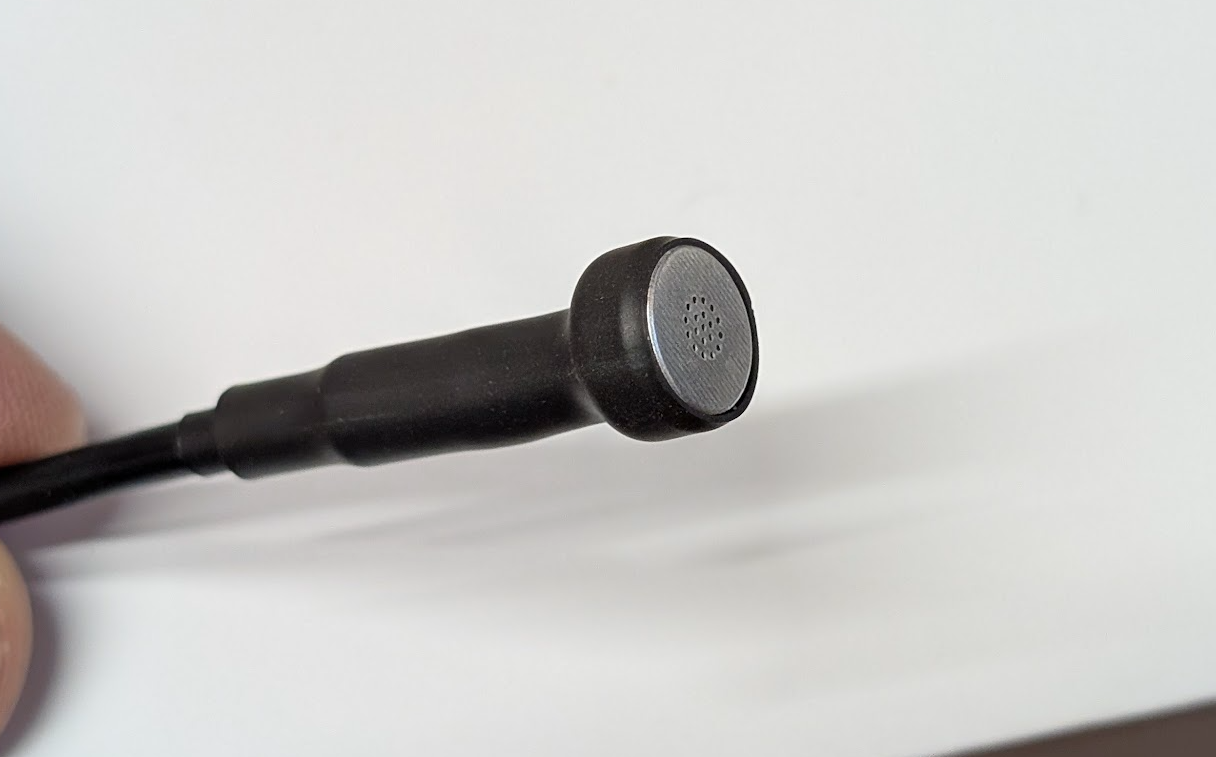
Solder the wires on. Making sure to land the green on the + on the mic. You did remember to put the smaller diameter heat shrink over the wire first, right?
I still recall soldering all 36 pins at about 21 years of age without putting the heat shrink on first. 72 solder joints later, I have only made that mistake a few times since. (Never once on another 36-pin connector - Centronics parallel port, if you must know, and if you are that old ... Dad, Gary and Dan).
Slide the heat shrink up and shrink it.
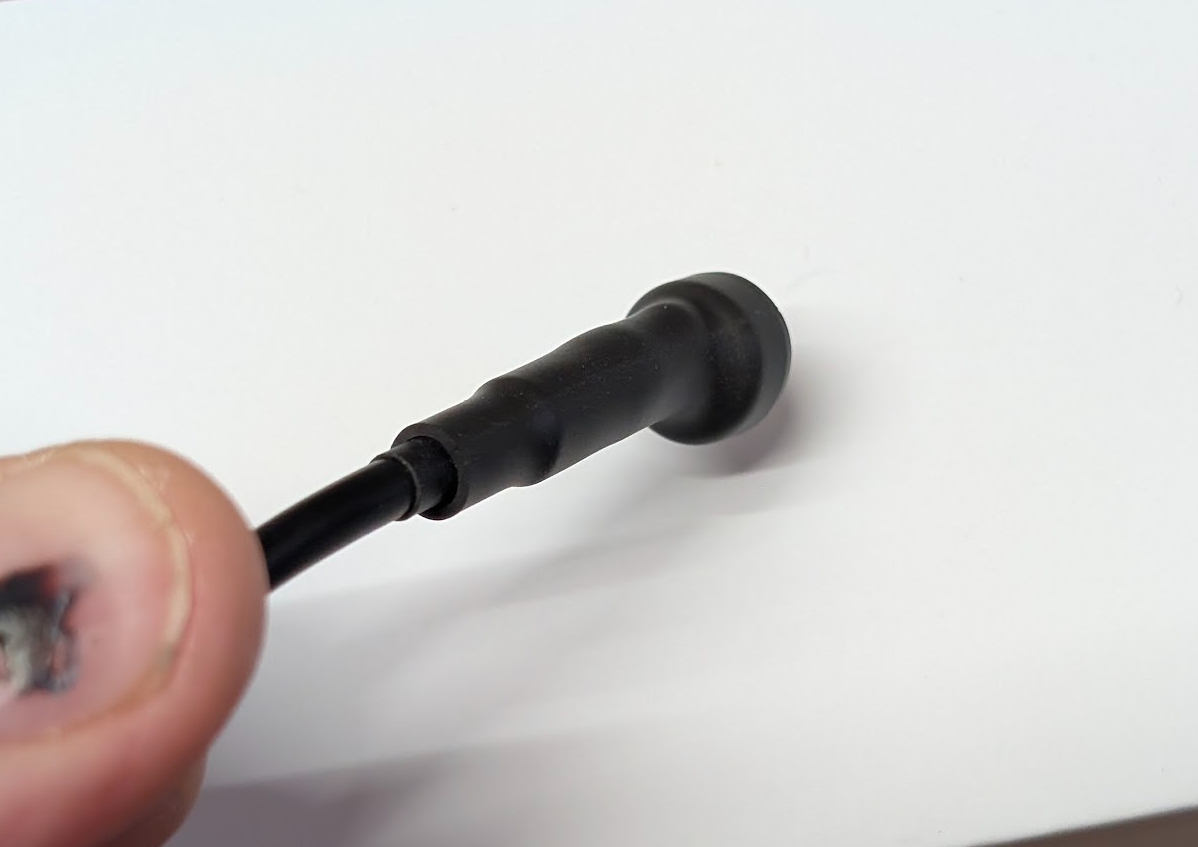
Then push the big stuff over. I found a dull Philips head screwdriver helpful for guiding the mic into the larger heat shrink, which helped keep it moving while staying nice and square.
Make it level (square) with the mic and just a little proud, as it's going to shrink a bit. Then hit it with the heat.
You're done.
I went with the Ugreen USB adaptor as it was well-priced, had good specs, and a bunch of bird watchers have given it the thumbs up for being pretty quiet USB hash-wise, and because they clearly call out what each part of the 3.5mm plug is what. (L/R headphones, mic and ground)Lastly, plug it in and restart the app (it's a Docker container, so you have to restart them every time you even look sideways at them - one of the many downsides to Docker stuff).
I did end up using alsamixer to bump the gain.
```alsamixer -m```
F6 to select the mic.
F4 to bring it to the center. Up down arrow keys to set the gain. You are going to have to experiment for your garden. No, 100% is not the right thing - not by a long shot.
ESC to exit and save. All in all, I'm very happy. It's quite a bit more sensitive and clearly clearer. The high frequencies of the bird calls are sharper and more in focus.
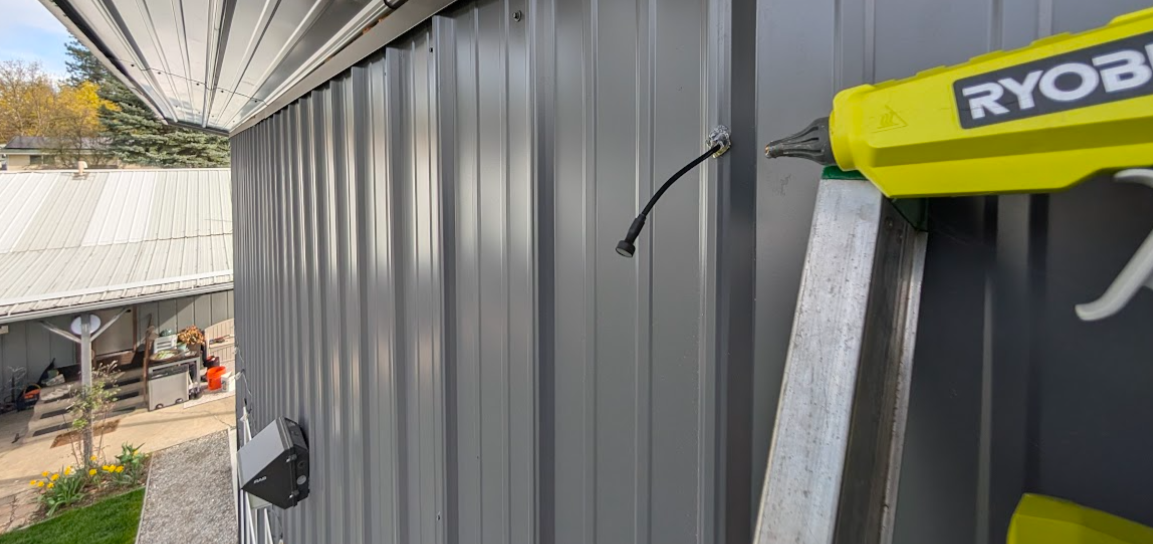
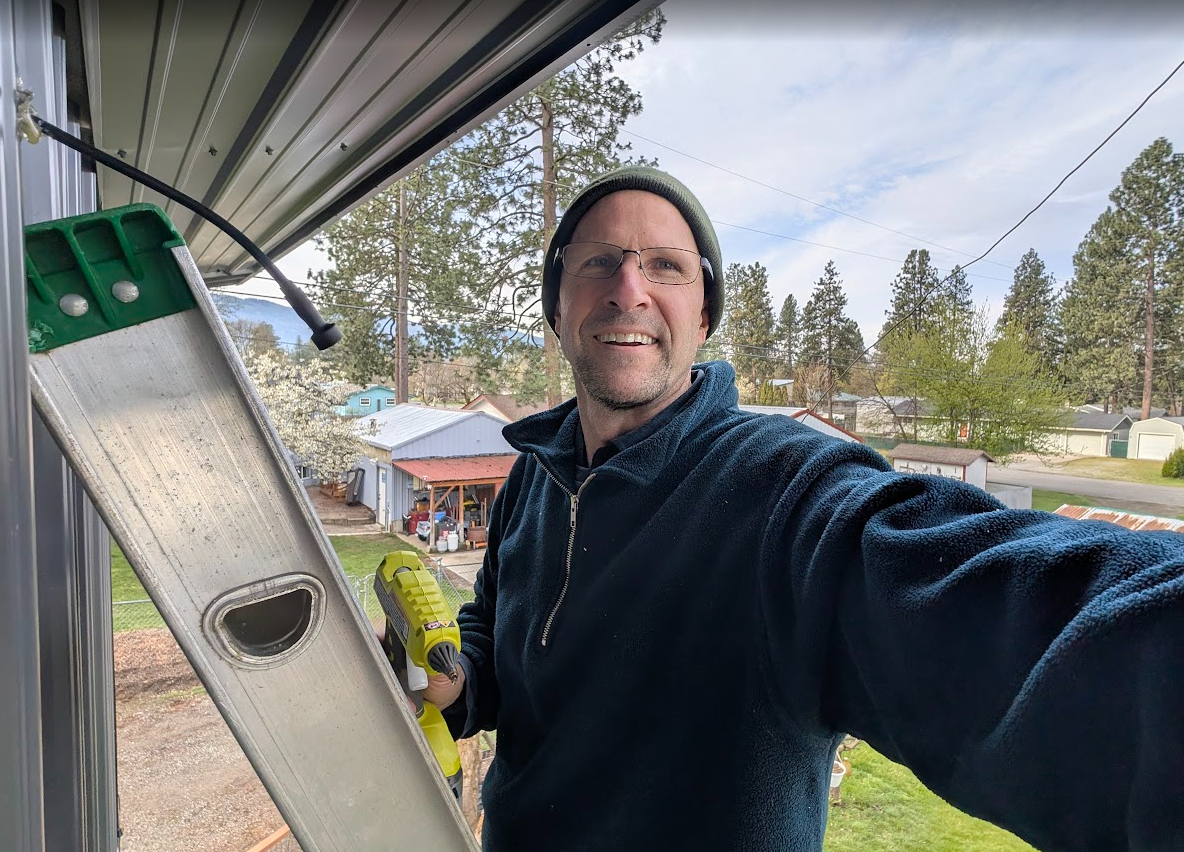
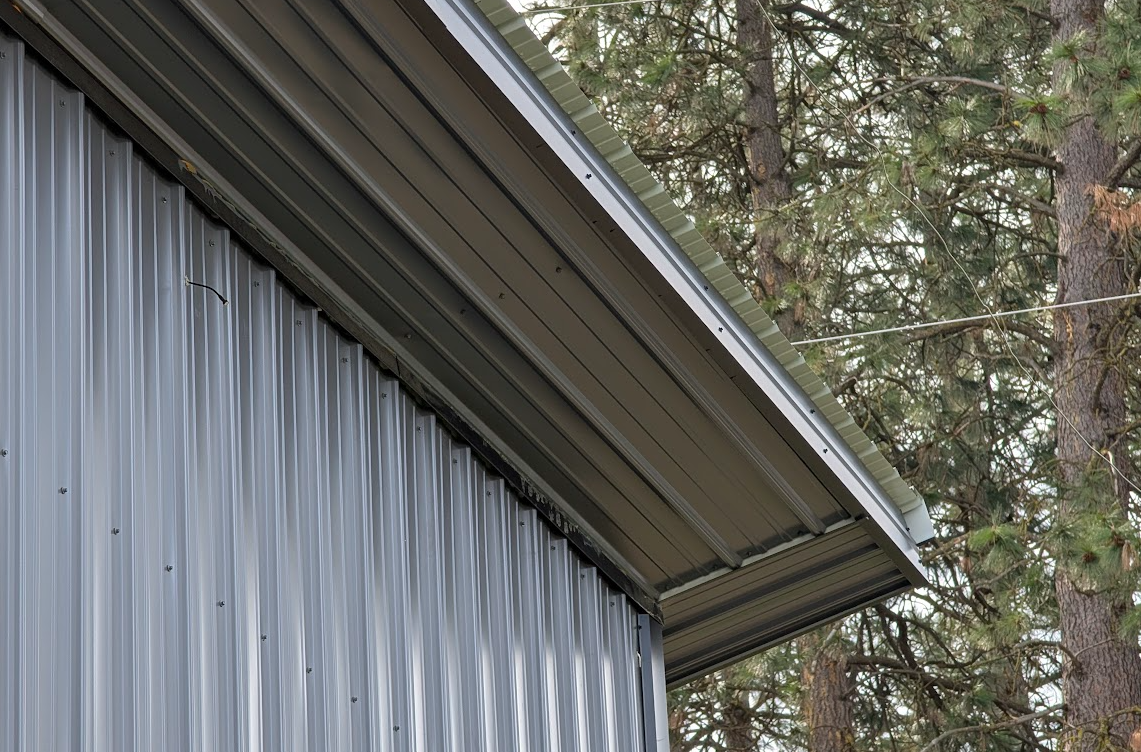
I've put the mic way up high on the side of the shop so it gets the yard and a little more of the sky for stuff flying past. It is also more out of the weather up under the shop eve.
$5 for the mic and $5 for the 6-foot (1m-ish) 4-pin 3.5mm plug. $12 for the USB audio interface.
If you can solder, this is easily the best setup you can put together quickly and cheaply. Now, just let it run and enjoy the project.