
Mezzanine Floor
Making storage space above the clutter

With the house sort of, little bit, mostly, not quite done, we can finally turn our hammers to the shop and try and beat it into useful space.
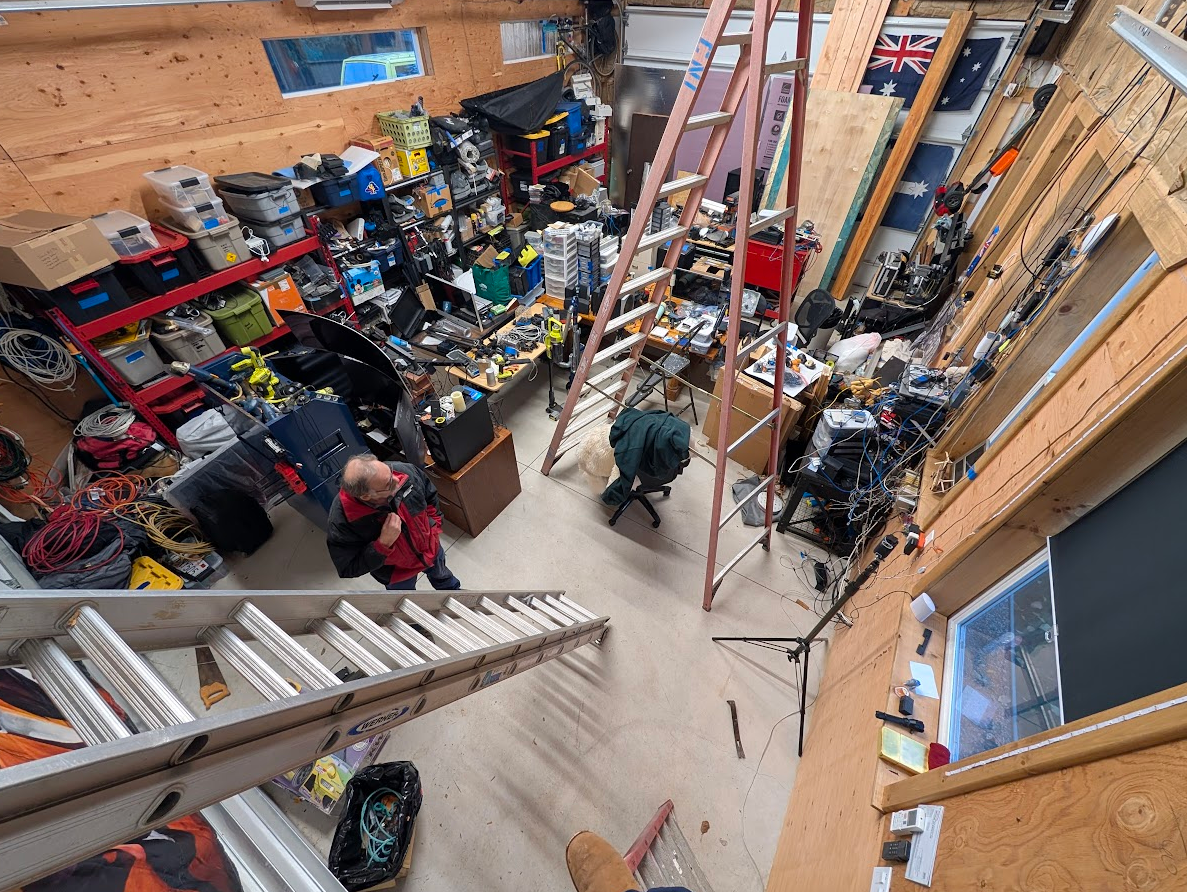
The core issue (at the moment) is that I don't have any floor space to move stuff to, so I can sort out what I moved, so I can move less of it back, and thus have the space (plus a little bit more) back to repeat the process. The solution I came up with is to go up. 3D storage. I have a ton of (wasted) space above my head. I just need more floor and shelving storage space. Simple as that.
The shop roof is crazy high because (I asked the previous owner who had the shop built), he wanted a one-way sloping roof to self-clear the snow.
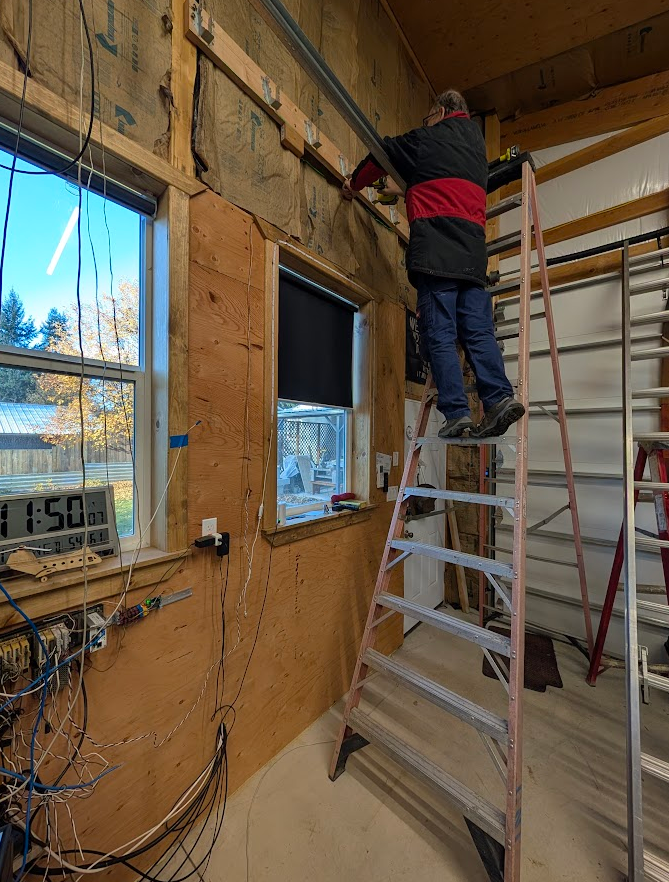
So the high end is like at 16 feet. The huge (and to me) annoying - because they take up so much wall and roof space and are simply not needed by me - garage doors are around 10 feet high when opened. And having two of them is just beyond frustrating. I loose two huge walls that could have storage racks on... So that leaves me around 5 feet of space between the open door and the shop roof.
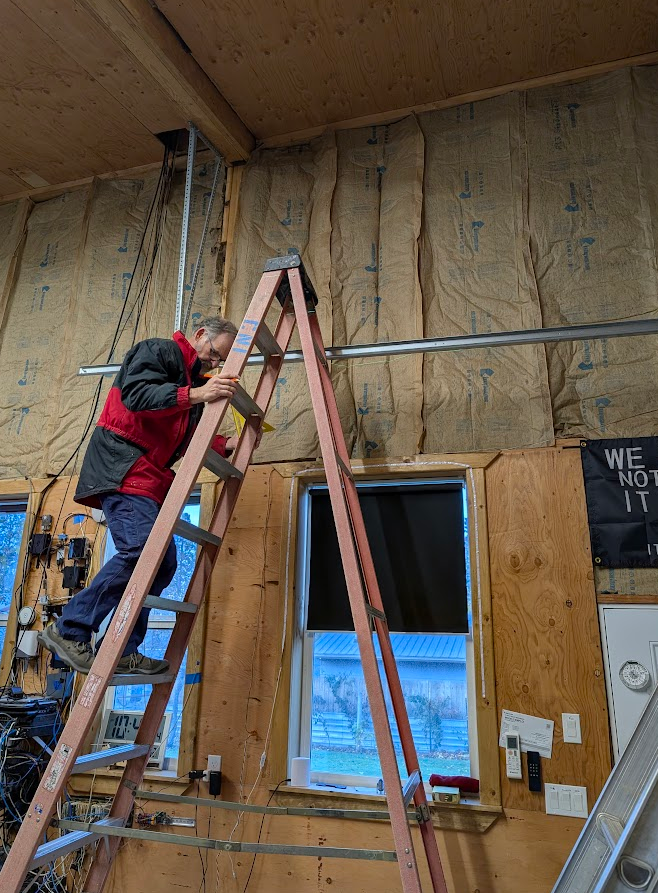
My mate was up for the job at the tail end of his slavecation (he really did work like a dog for the whole month - But hey, I gave him the last day off).
At first, I wanted to go big or go home and thought that 10x10 (feet) would be about right, but once we measured the narrow end and I saw that I would be scrunched up on my knees to get down there, we scaled it back to 10x6. The length of 10 feet just naturally fits to the first major beam in the roof, so that distance was pretty fixed. The 6-foot width was totally up to us. We picked that since we went for (initially) 2-foot-wide shelving to take my bigger stuff / tubs and give me enough space to take a tub down and get what I needed out of it, and a little bit of elbow room left over.
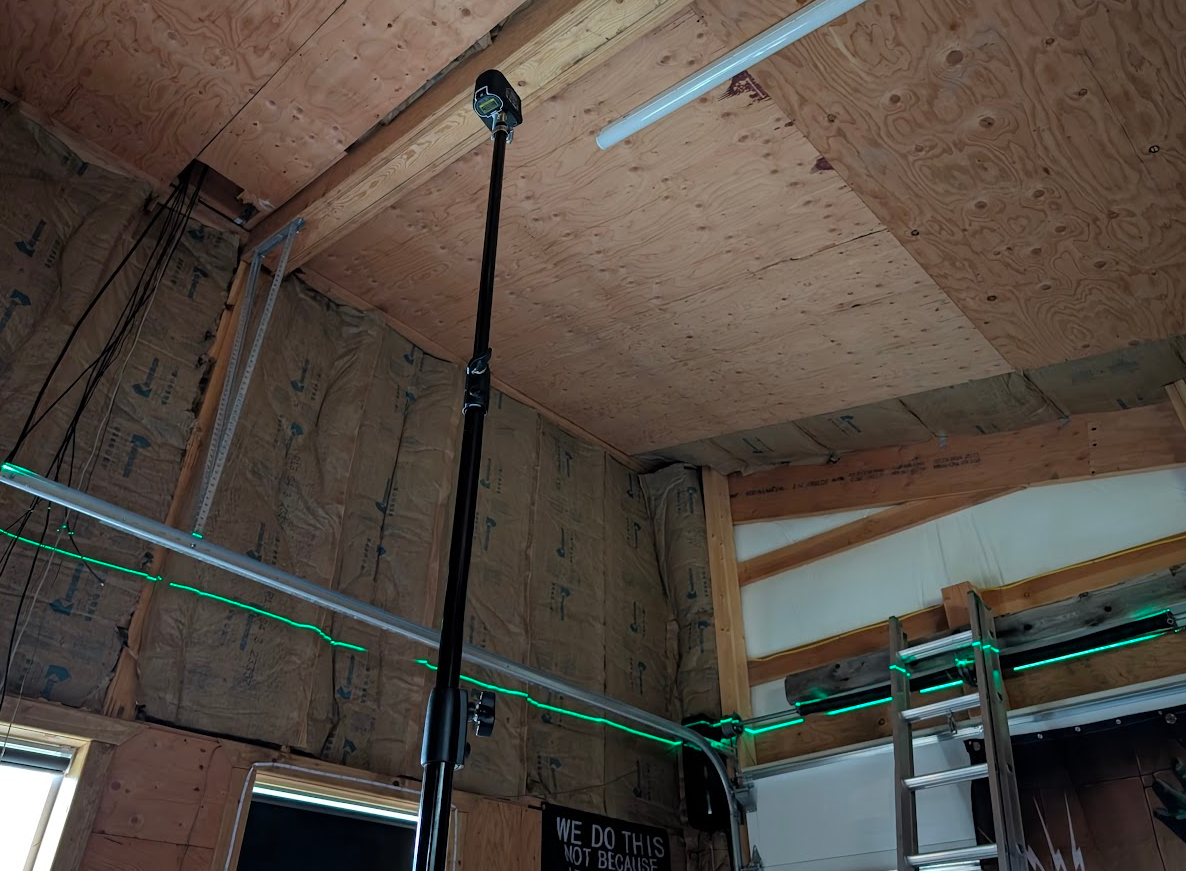
I've been looking for an excuse to buy a self-levelling line laser... This was the reason.
It was very handy to mark where the beams were going to be and know they were level without having to do a bunch of sloping roof math.
With the wall beam in, we could start building on that data point.
Borrowed the tall ladder off Dean (The same Dean0 that built the bedroom wall in the basement (if you can remember that far back - if not: here).
Came in clutch for the whole project.
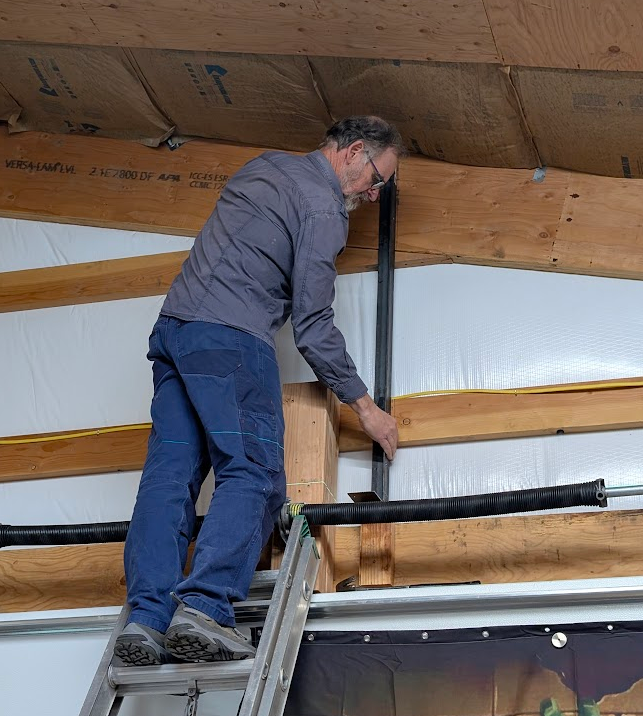
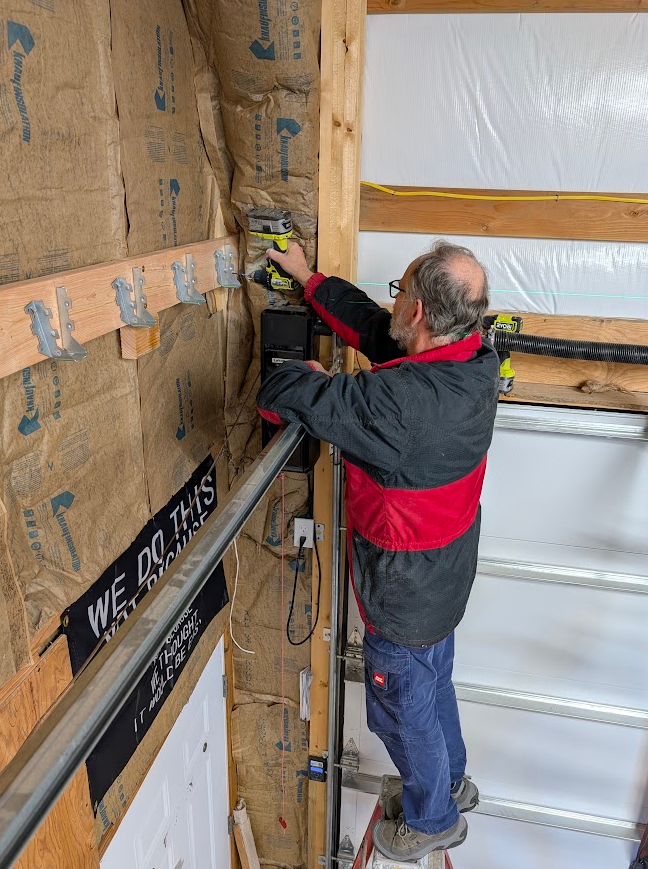
A bit of 2 inch angle for the other end of the floor beam.
Cole welded a 'foot' on the bottom to help hold the weight of the beam while we drilled in the coach bolts (lag bolts) to hold it in place.
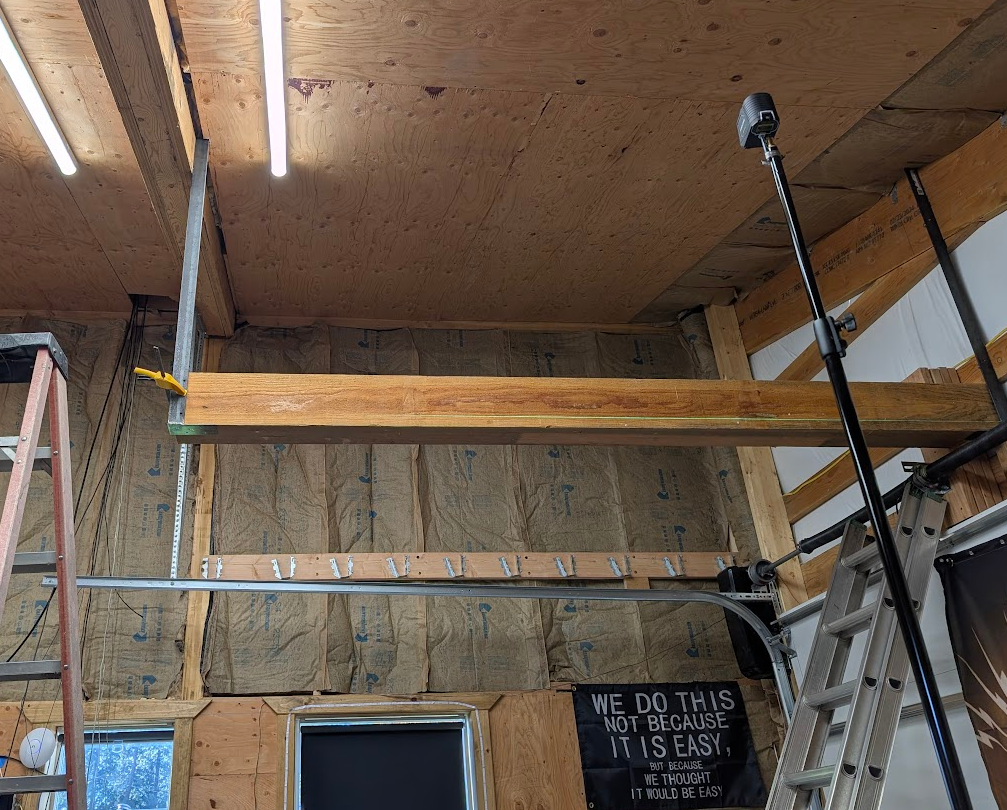
Once the two beams were in place, connect the ends....
The back story on the big beam is that it was left over from Cole's dad's deck build. He's had it undercover up at his shop for years and was only too happy to pass it on, knowing it was going to a good home/job.
It was long enough by only about 6 inches, and we used the offcut to make a monitor stand for the basement. So zero inches of that beautiful beam went to waste.
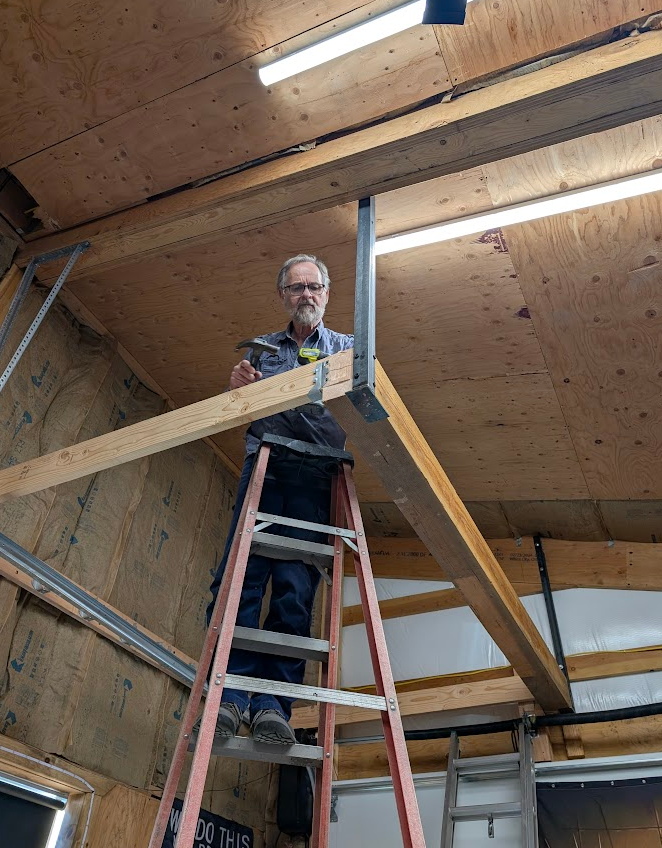
I'm not going to lie and say I helped.... It really was all Dan's work.

Yes, putting the floor joists in at 12-inch centres was / is overkill, but it was not that much more money.
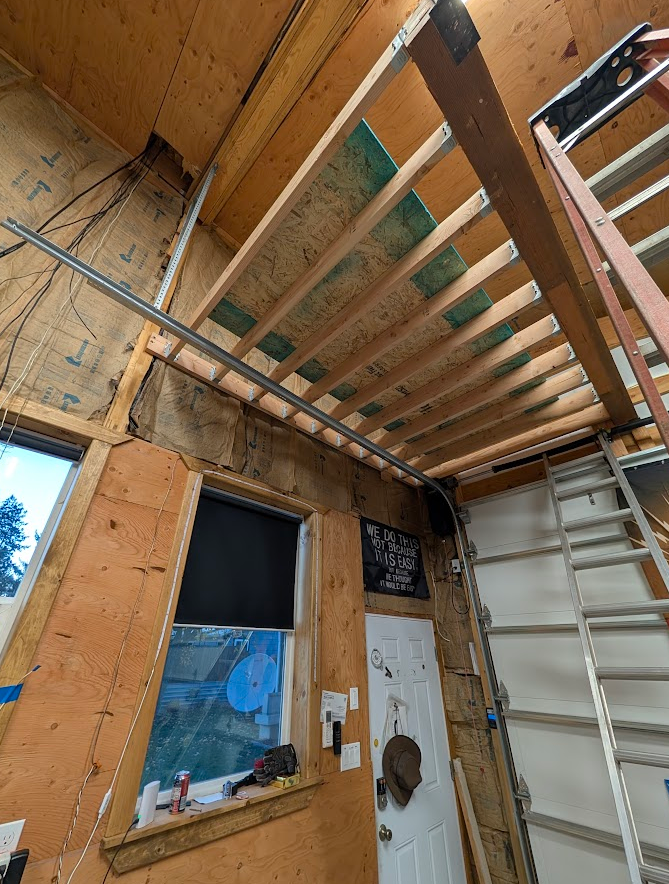
Threw one sheet of flooring up to make working on the last few bits a bit easier.
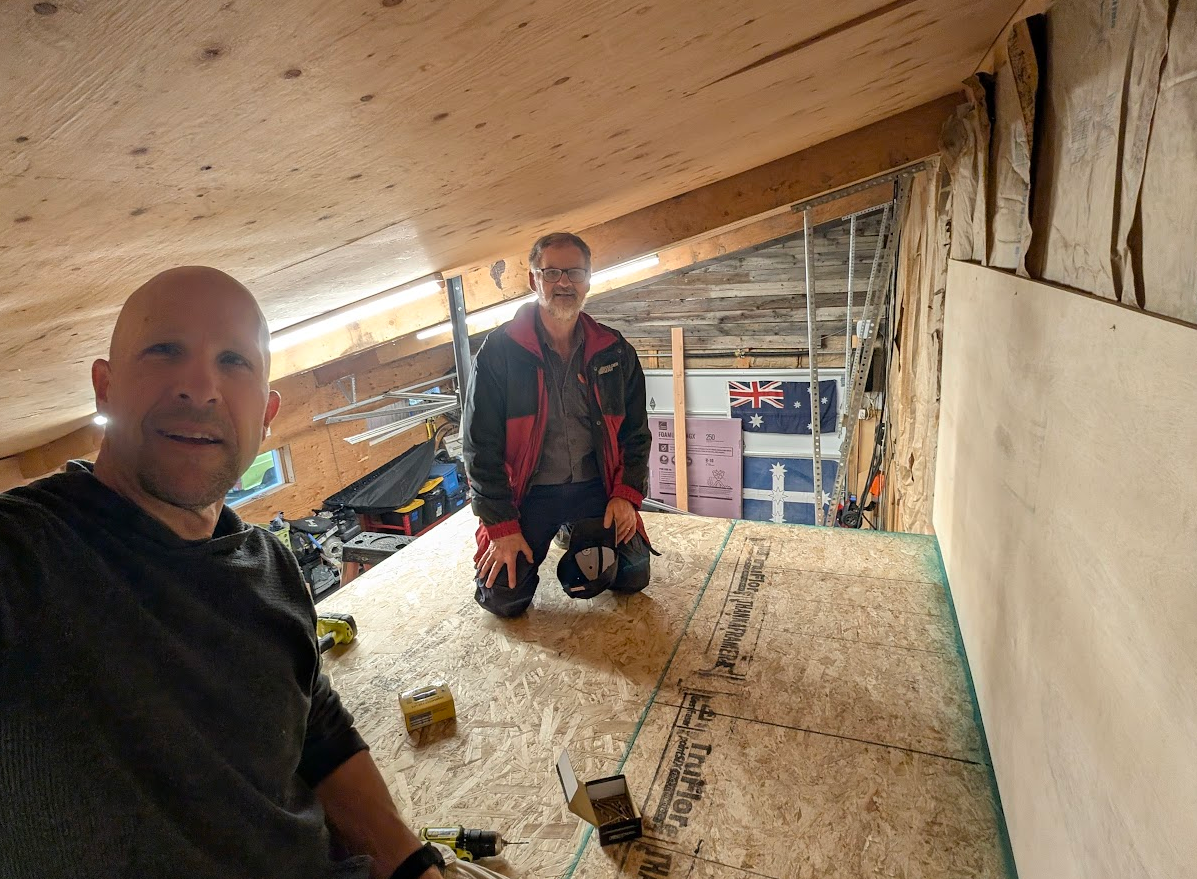
About here is where we called the first day's work done. Not a bad effort at all.
The ply on the wall is to stop stuff sliding back to the wall insulation. I'd like to fit ply to the roof everywhere paper insulation is showing around the whole shop over the next few months. Both to give the shop a more 'finished' look and so I can screw things like shelves to it.
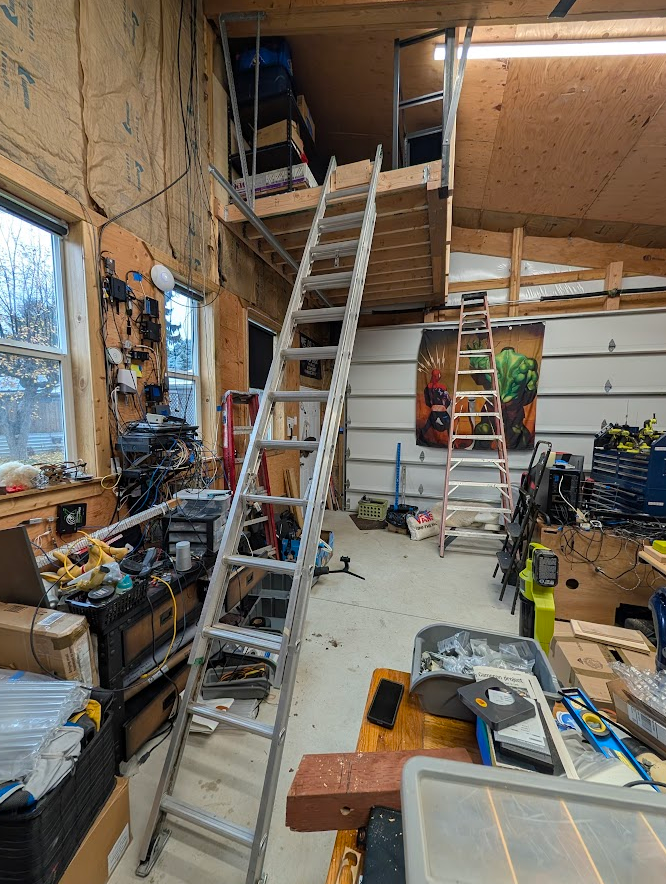
This is how things currently stand. I've since returned Dean's tall step ladder.
Put a chock in for my ladder. I am looking at used sales for a one-piece 15-foot ladder. The extension is heavy and is used elsewhere. I don't plan to leave it set up all the time, but it will be for a little while as I get the shelves on the right-hand side assembled and the small totes sorted and installed.
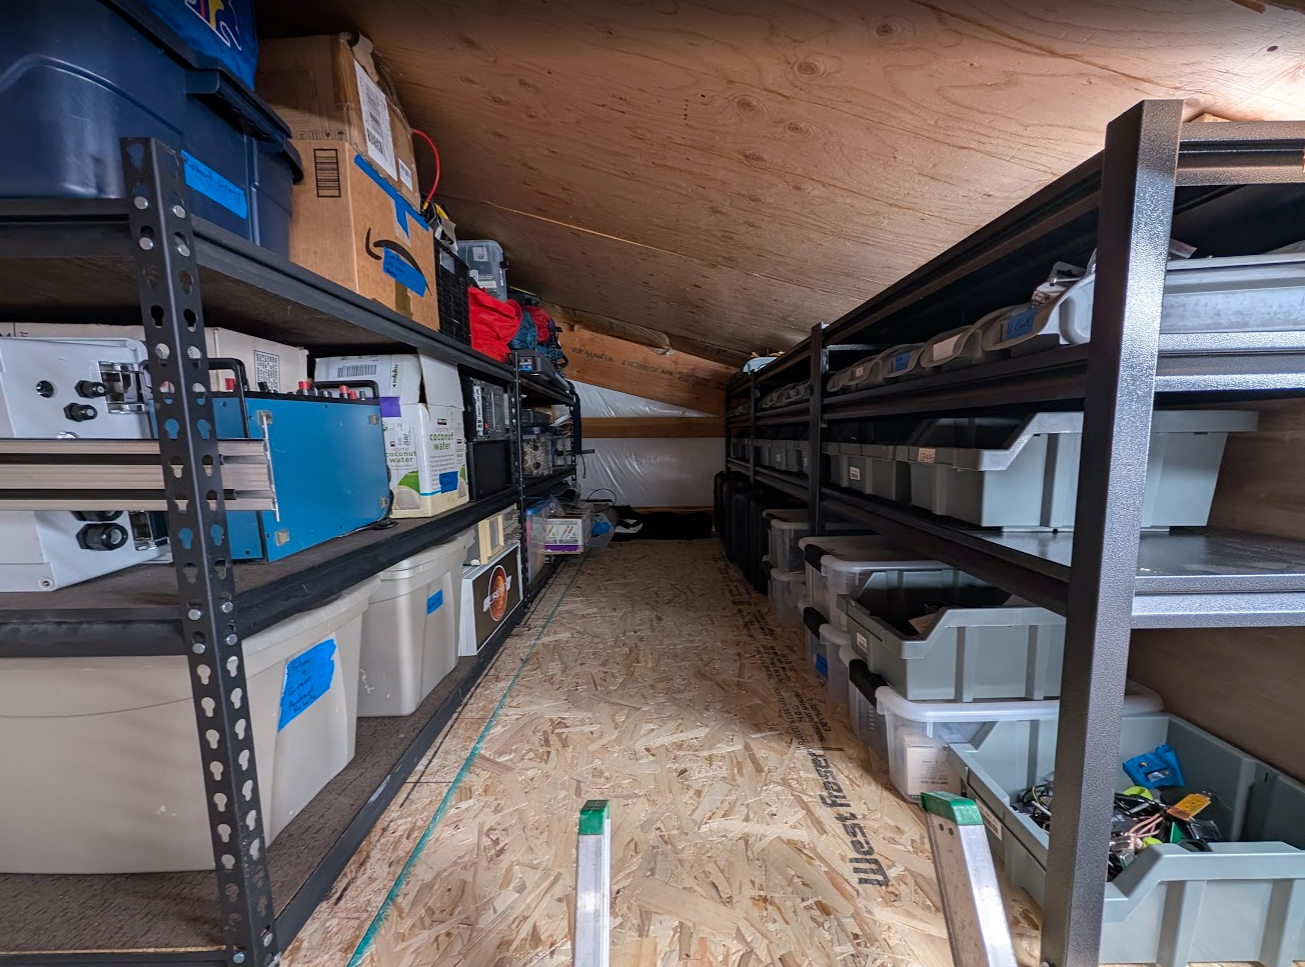
The shelves up there are pretty much full. I am going to get some more thin tubs for the top row in the next day or so and finish filling them up over the xmas break.
Once things settle down for a few weeks, I will label everything and make a list on the shop floor so I can keep track of what is up there without having to go up just to check.