
Miss Linn Gas Gauge
How far can I go?

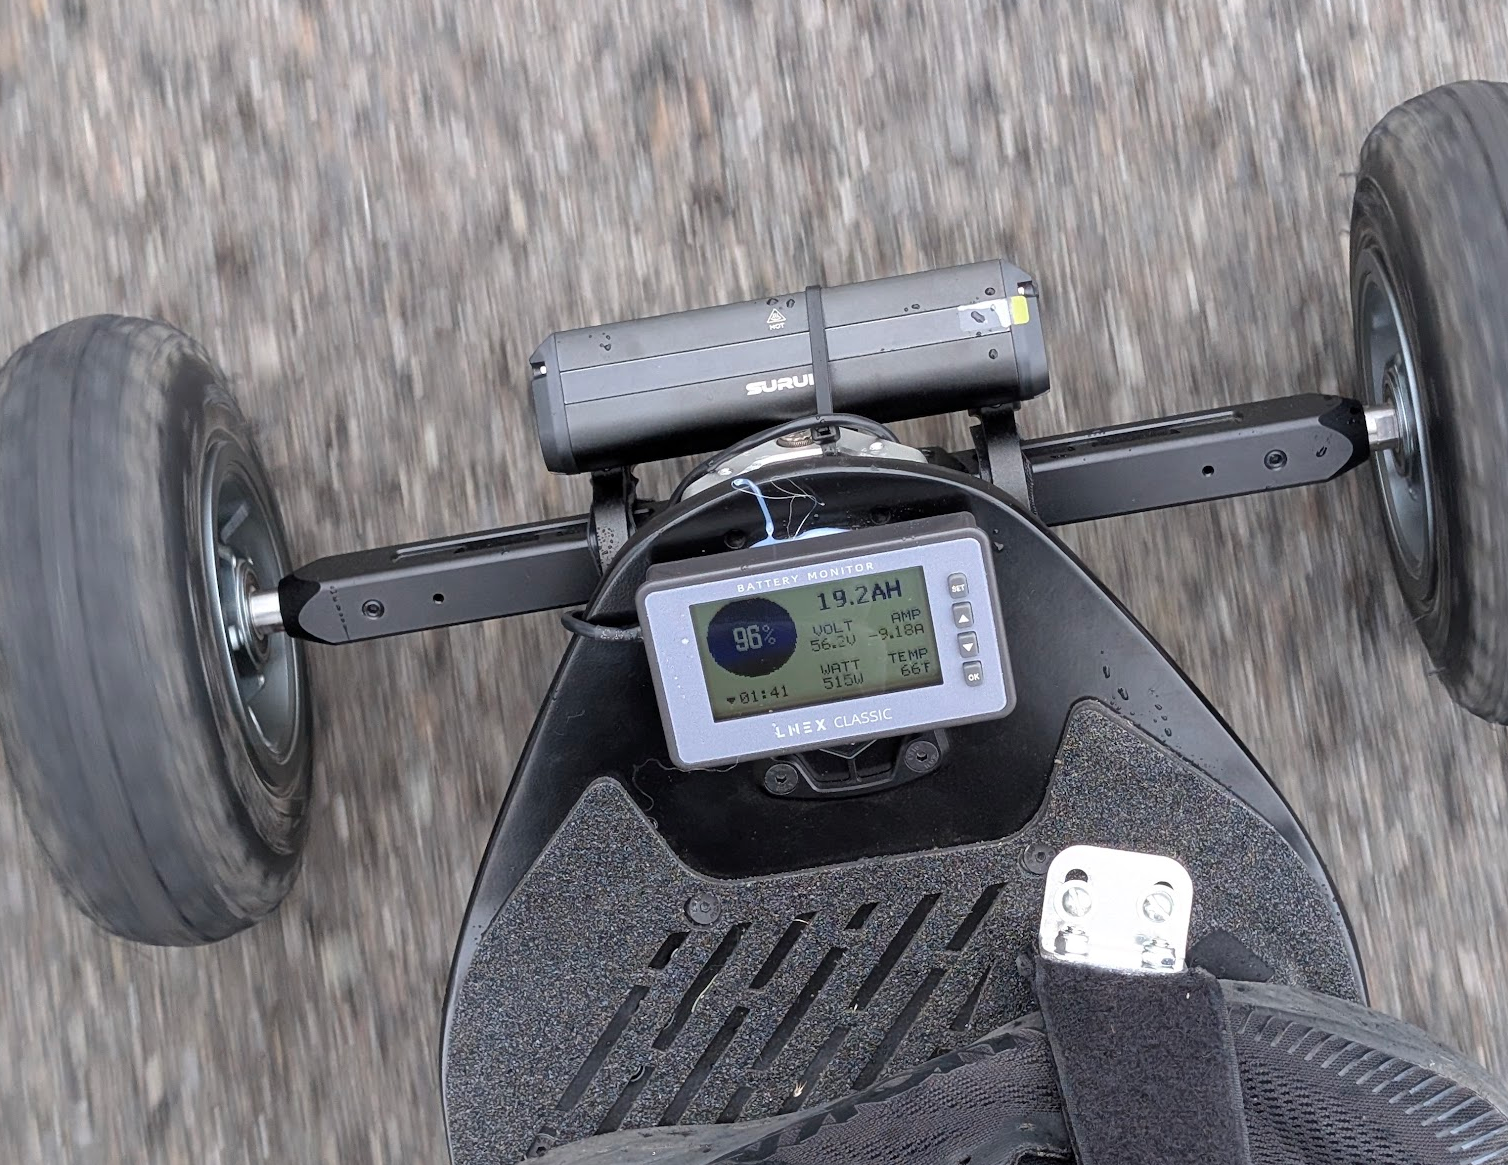
True to form, I voided the warranty and made some tweaks.
As mentioned in the closing part of the last Miss Linn blog, this thing is an actual mode of transport, not just a <define hobby> delightful waste of time.
As mentioned in the close of the last blog, a real mode of transport needs a gas gauge.
There are two main types of battery gauges on Amazon. Those with a current shunt and those without.
I seriously thought about just getting a volt meter (the type without) since they would be the less intrusive to install, but I know my long term goal is to really push the mileage on Miss Linn with some external battery packs (long range fuel tanks if you will), so knowing, REALLY knowing, just how many amp hours have been put into the wheels will become more and more helpful (critical?) as the ride mileage creeps up.
Buy once, cry once. Get what you need and make it work the one time.
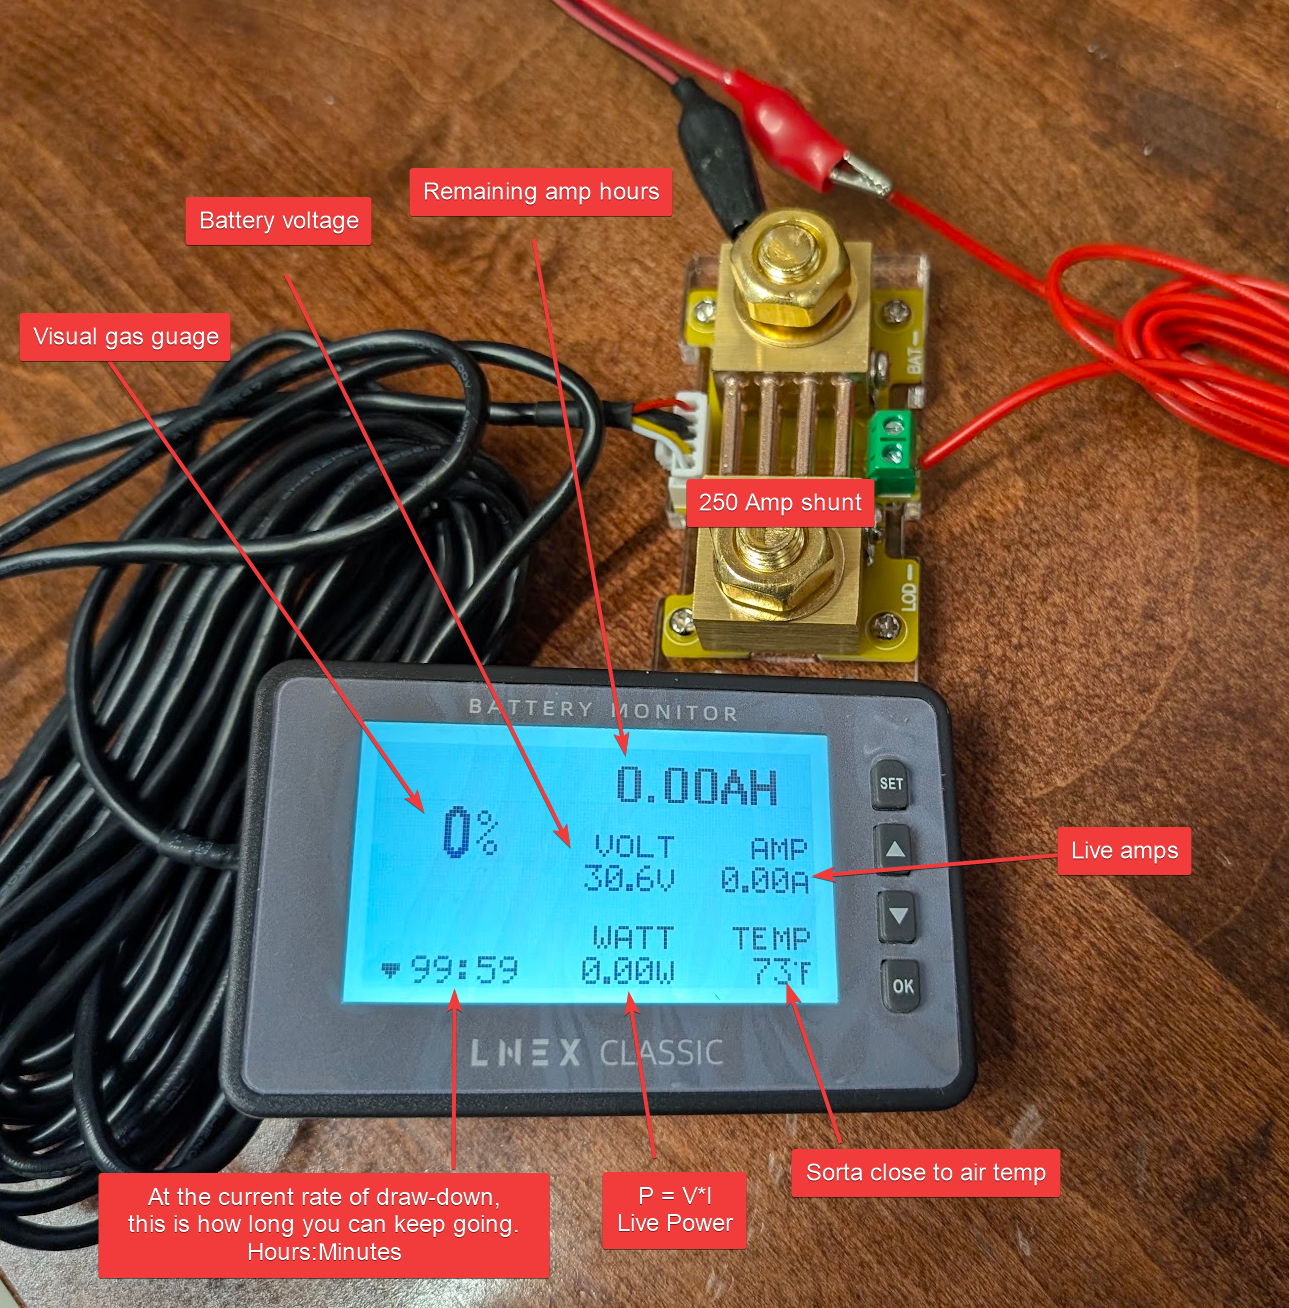
I chose this meter because it seemed to offer the best sunlight-readable display.
The others were all fonts and colours <bleh>
The shunt really does need to go inside the board - I considered putting it outside, and still may change my mind, but for now, its on the inside.
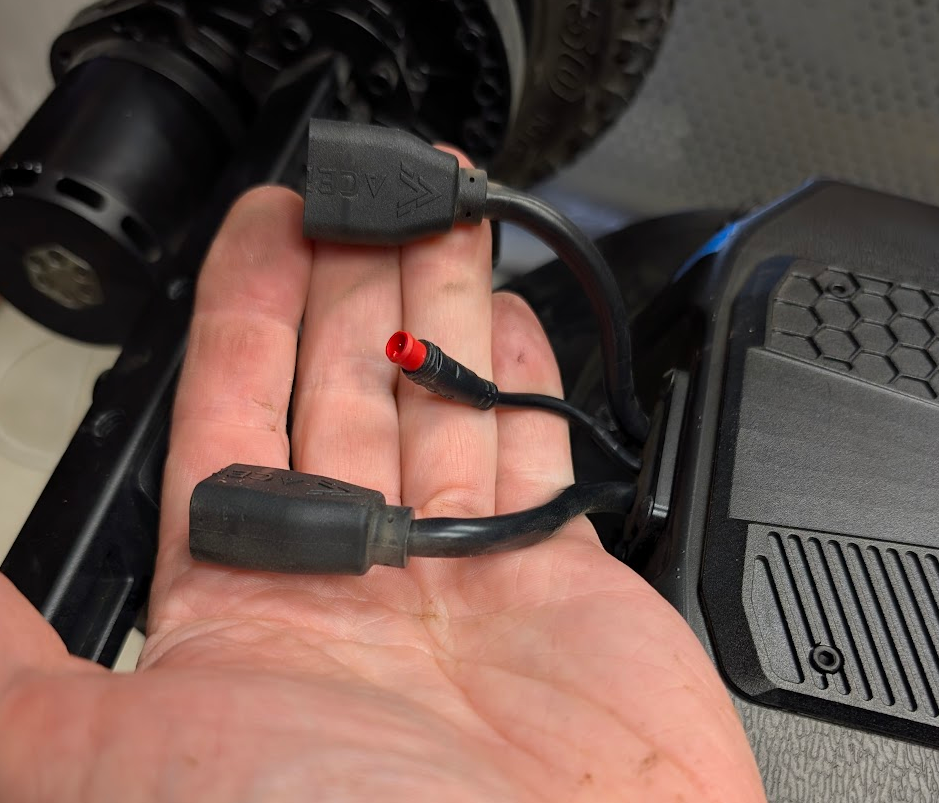
Undo the bolts around the motor and rear brake light covers and unplug them.
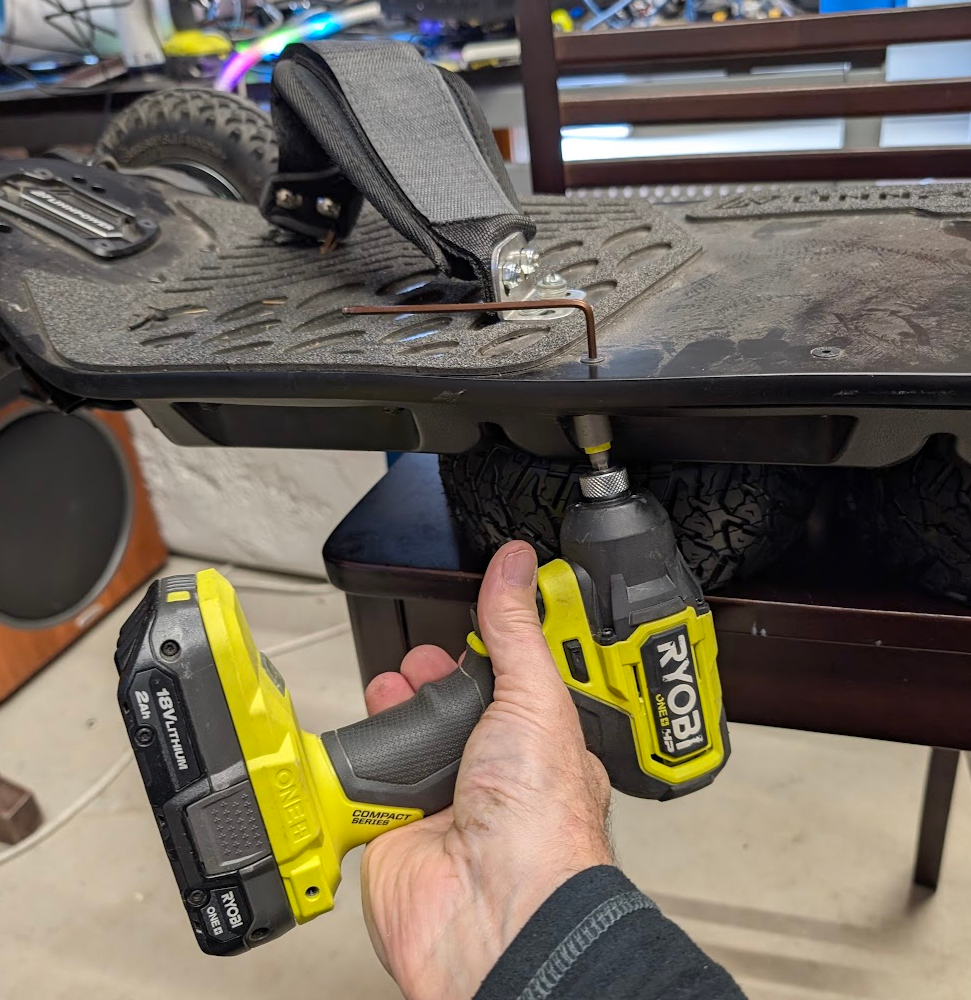
Work your way around the edge of the board removing all the nylock bolts.
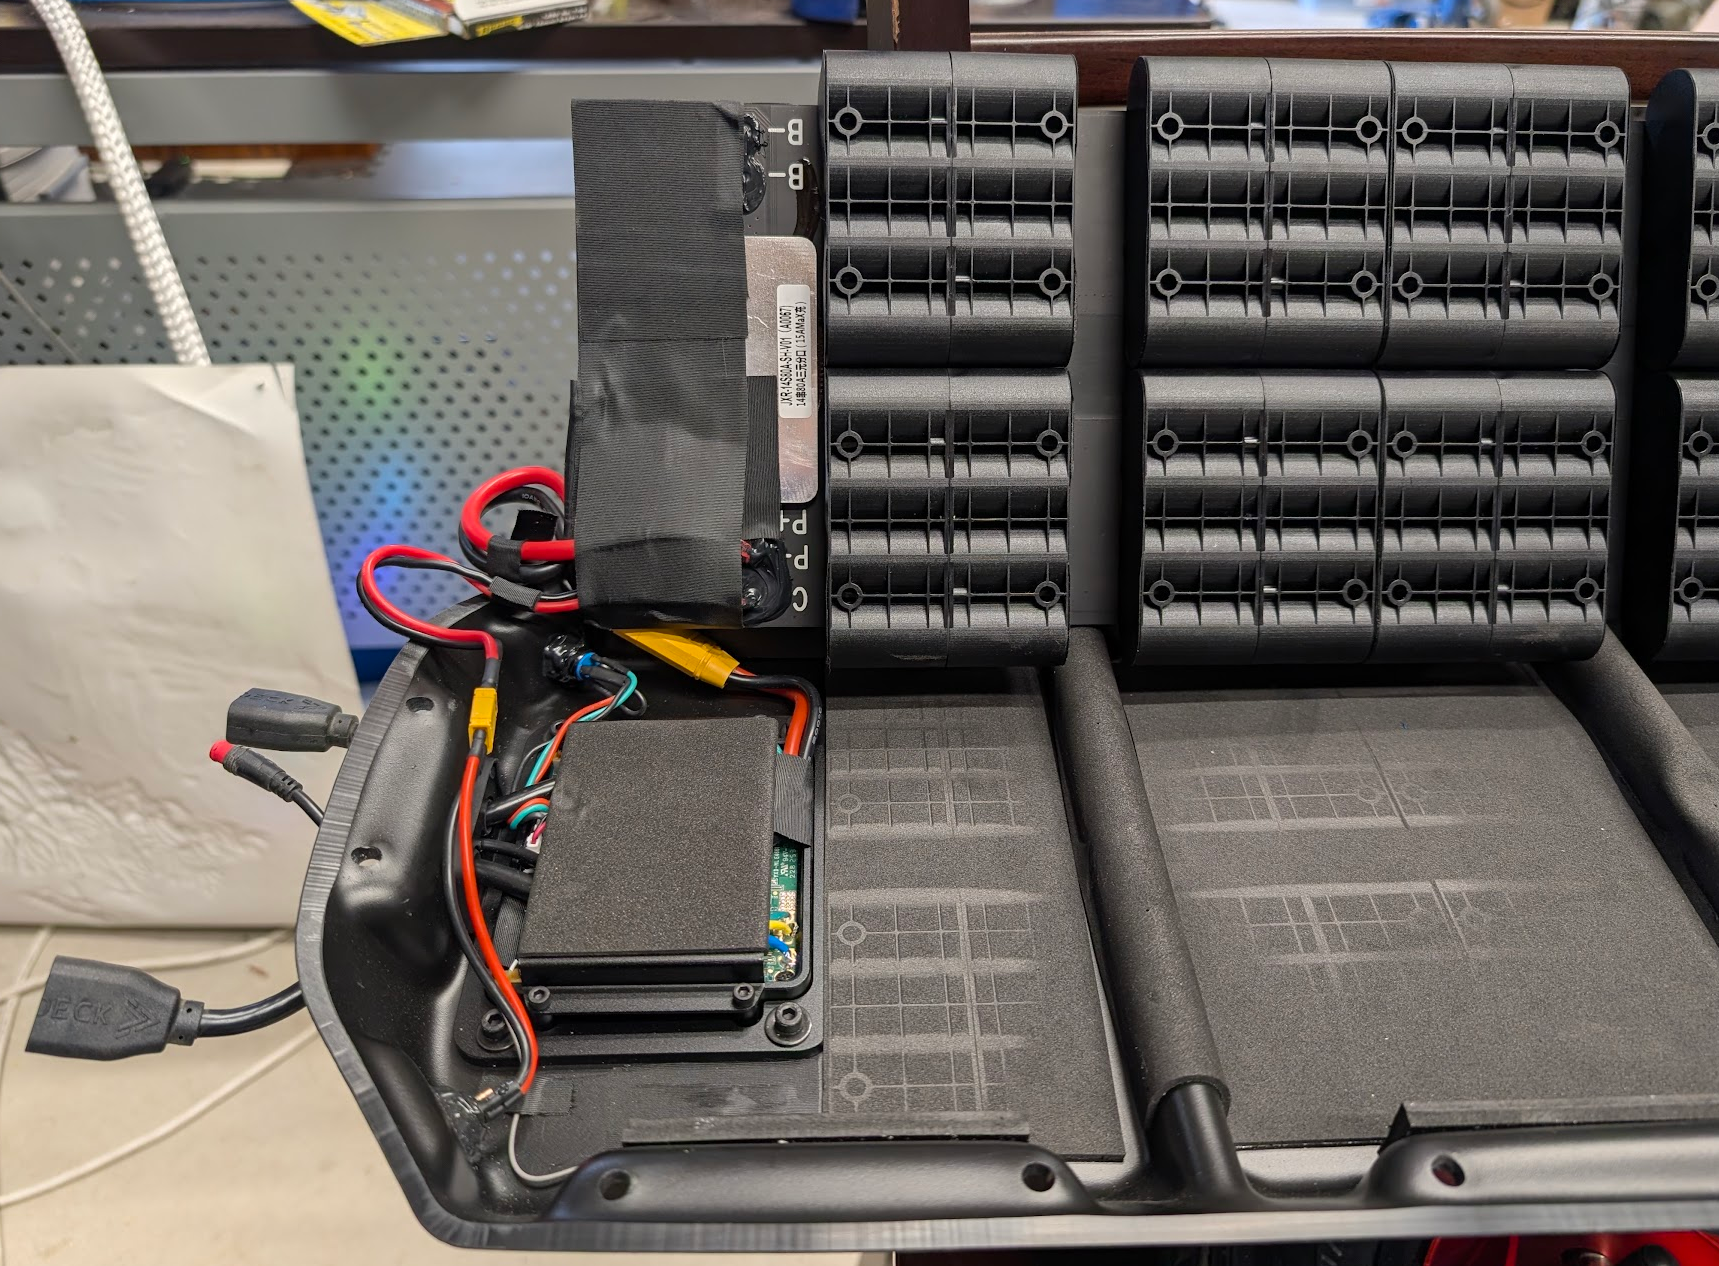
Lift off the cover and place it aside, lift up the near side of the battery and unplug the two leads - power and charge.
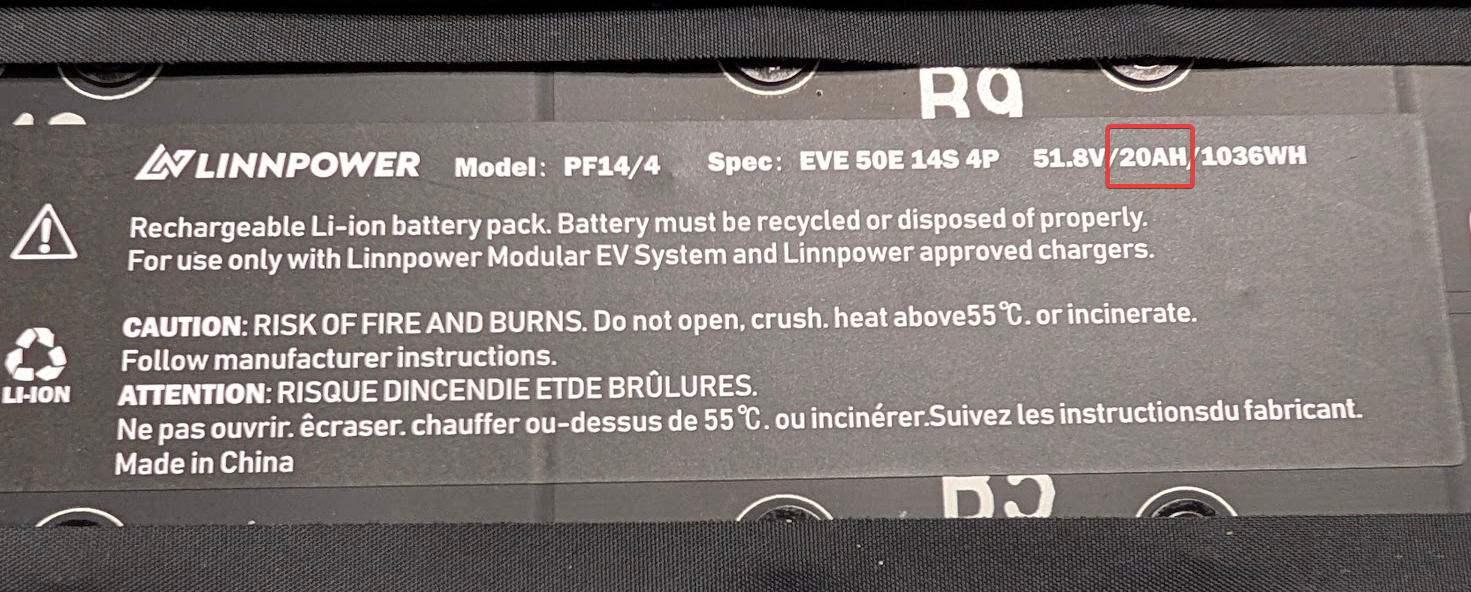
Make note of the battery capacity. The meter I have requires the size to be entered in Amp Hours, so that's the number I need.
For selecting e-bike batteries as my external long range tanks, I need to note also the voltage as the bike batteries need to match.
So the external tanks need to be exactly 51v batteries and at least 20Ah, bigger would be better.
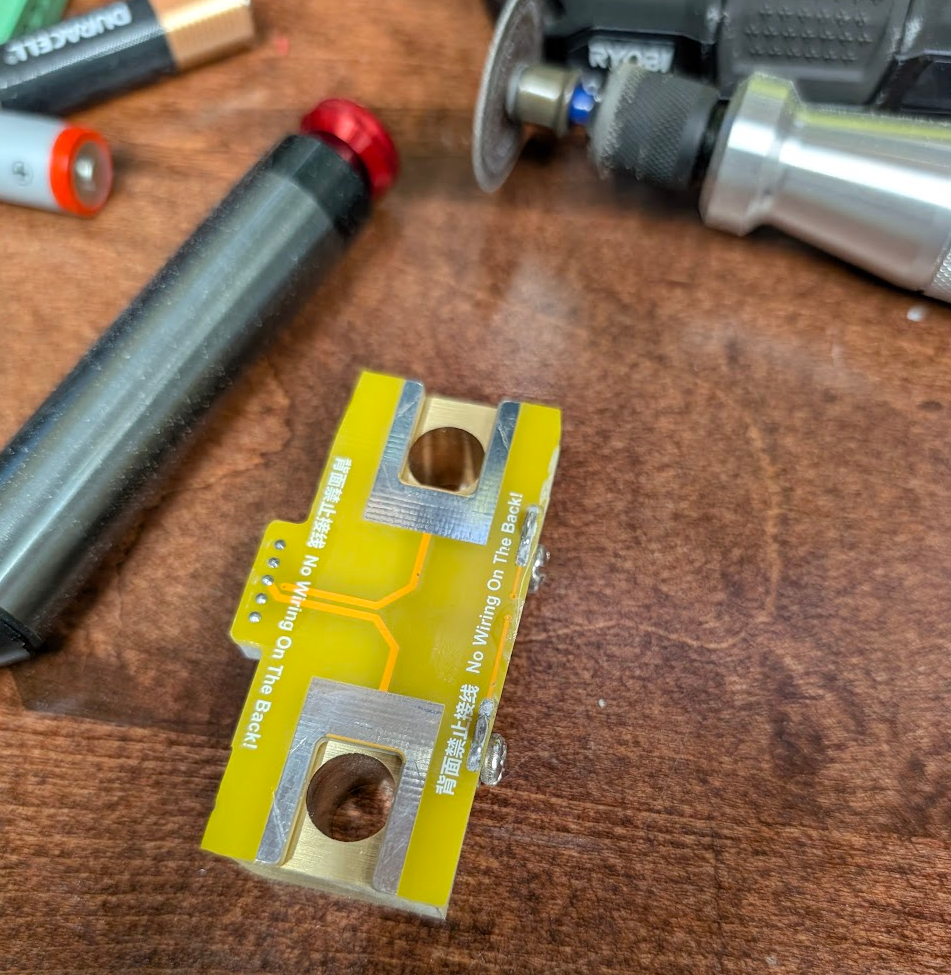
To get the shunt to fit required a little bit of a hair cut with the cutting tool.
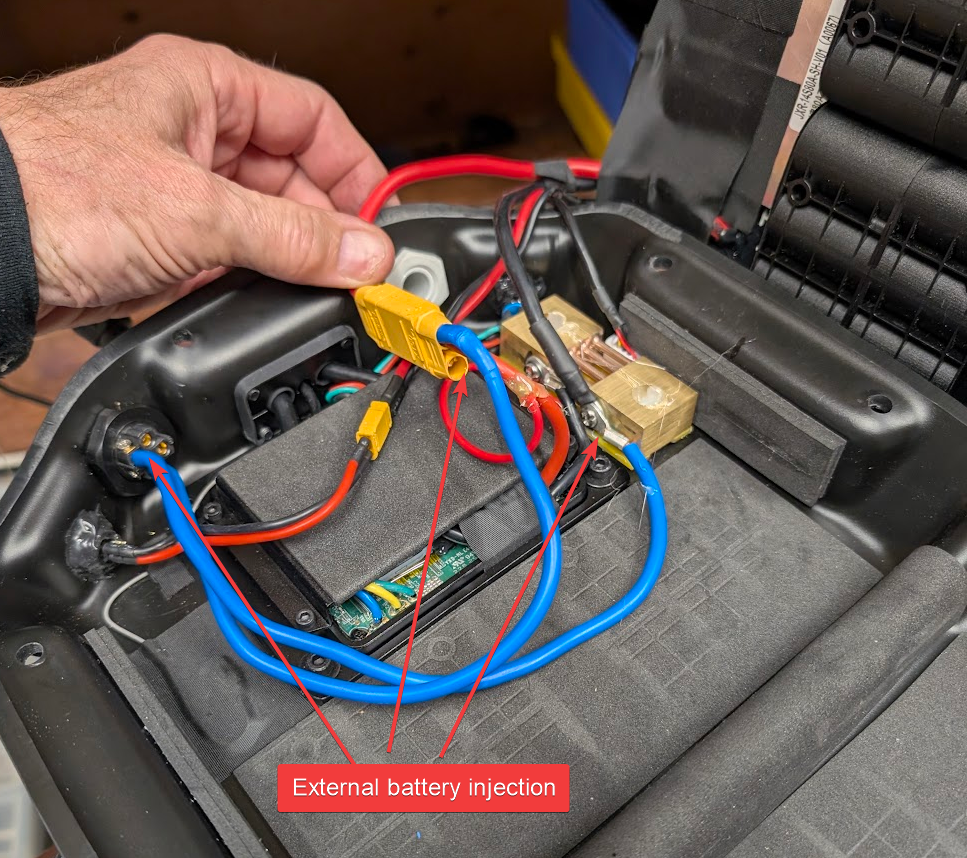
If you copy this - don't do what I did.
The external battery plug is on the right, two spare pins for future expansion of ideas or mods.
The positive and negative are just in parallel with the main pack. I will draw down all three packs together as one big battery - the shunt will measure the three pack voltages as one and the board draw from the three as one. Then after the ride, charge them separately.
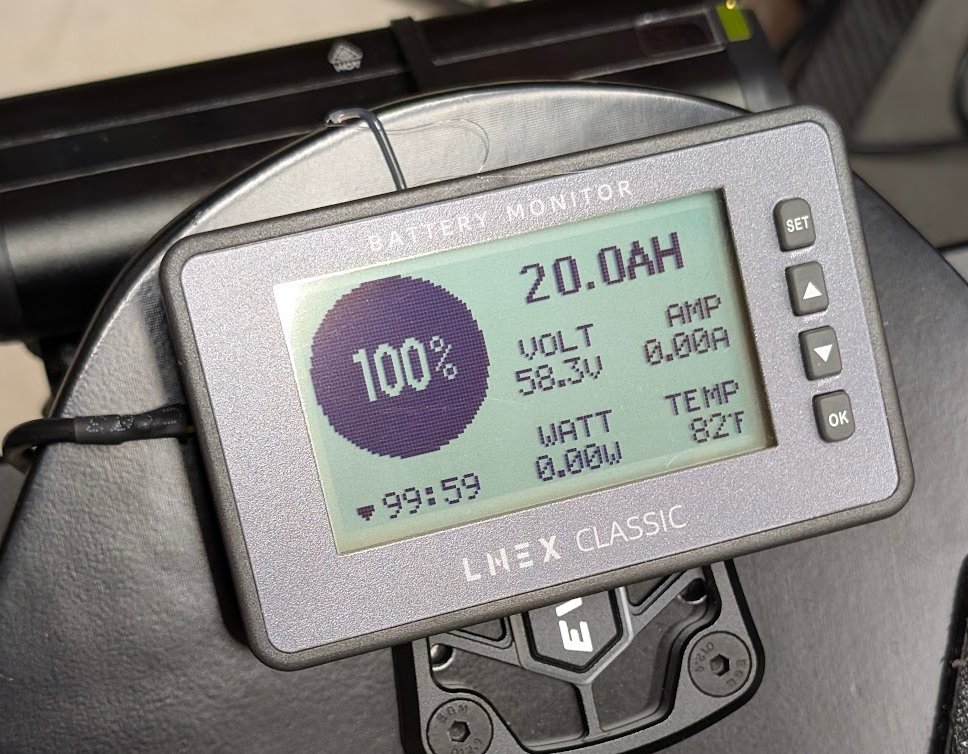
Hooking things up and programming the gauge did not take long.
Did not like the initial angle from the very first ride.
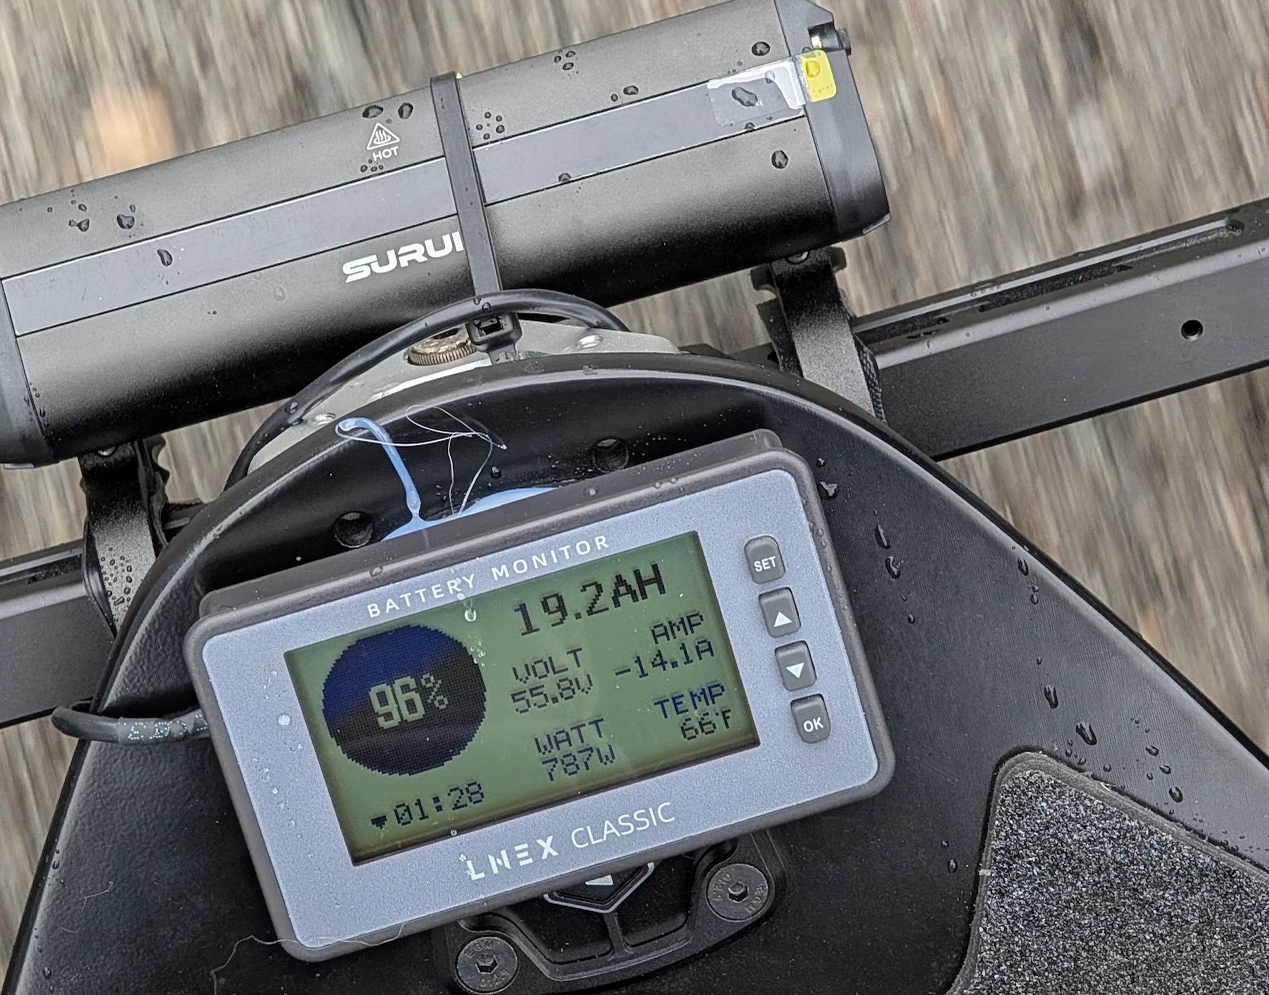
Of course it started raining the very first test ride....
But you get the idea. My old eyes cant see any of the numbers very easily, but I can see the large blob with the reading in the middle and I guess that's the most important.
Its pretty cool to see the amps go positive when I hit the brakes. You'd need a monster downhill section to really make much of a dent, but regen braking really does charge the battery.
If I squat down while riding on a smooth straight section, I can see the other numbers enough to keep track a bit.
One of the unexpected perks of the electron gauge is not recharging Miss Linn after every ride.
Before the meter, I was always trying to do math in my head of what sort of miles I did and how economical they were to try and decide if I should recharge the board overnight. Most readers will know how terrible I am at math, so yeah, I charged Miss Linn no matter what.
Now, I have a fuel gauge that tells me and I usually have a good feel though the week what sort of riding I plan or expect to do tomorrow.
Generally, I now know that I can charge after my long ride on Sunday, then ride Monday and Tuesday. Fully charge overnight for Wednesdays ride to work and back. Fully charge Wednesday night and probably Friday night.
So 3 full charges per week vs the 5 or 6 I was doing before the meter.
Yes, this is a stop gap over the Raspberry Pi idea I floated, but I am just too busy with other stuff to have the 'spare' time for that deluxe version. This will do 80% of the job with 20% of the time spent.Dont let perfect get in the way of functional